Skip to main content
Search
Search This Blog
Cinnamon Girl
Posts
March 22, 2023
Orange yogurt pound cake
October 20, 2022
Chocolate Pumpkin Bread
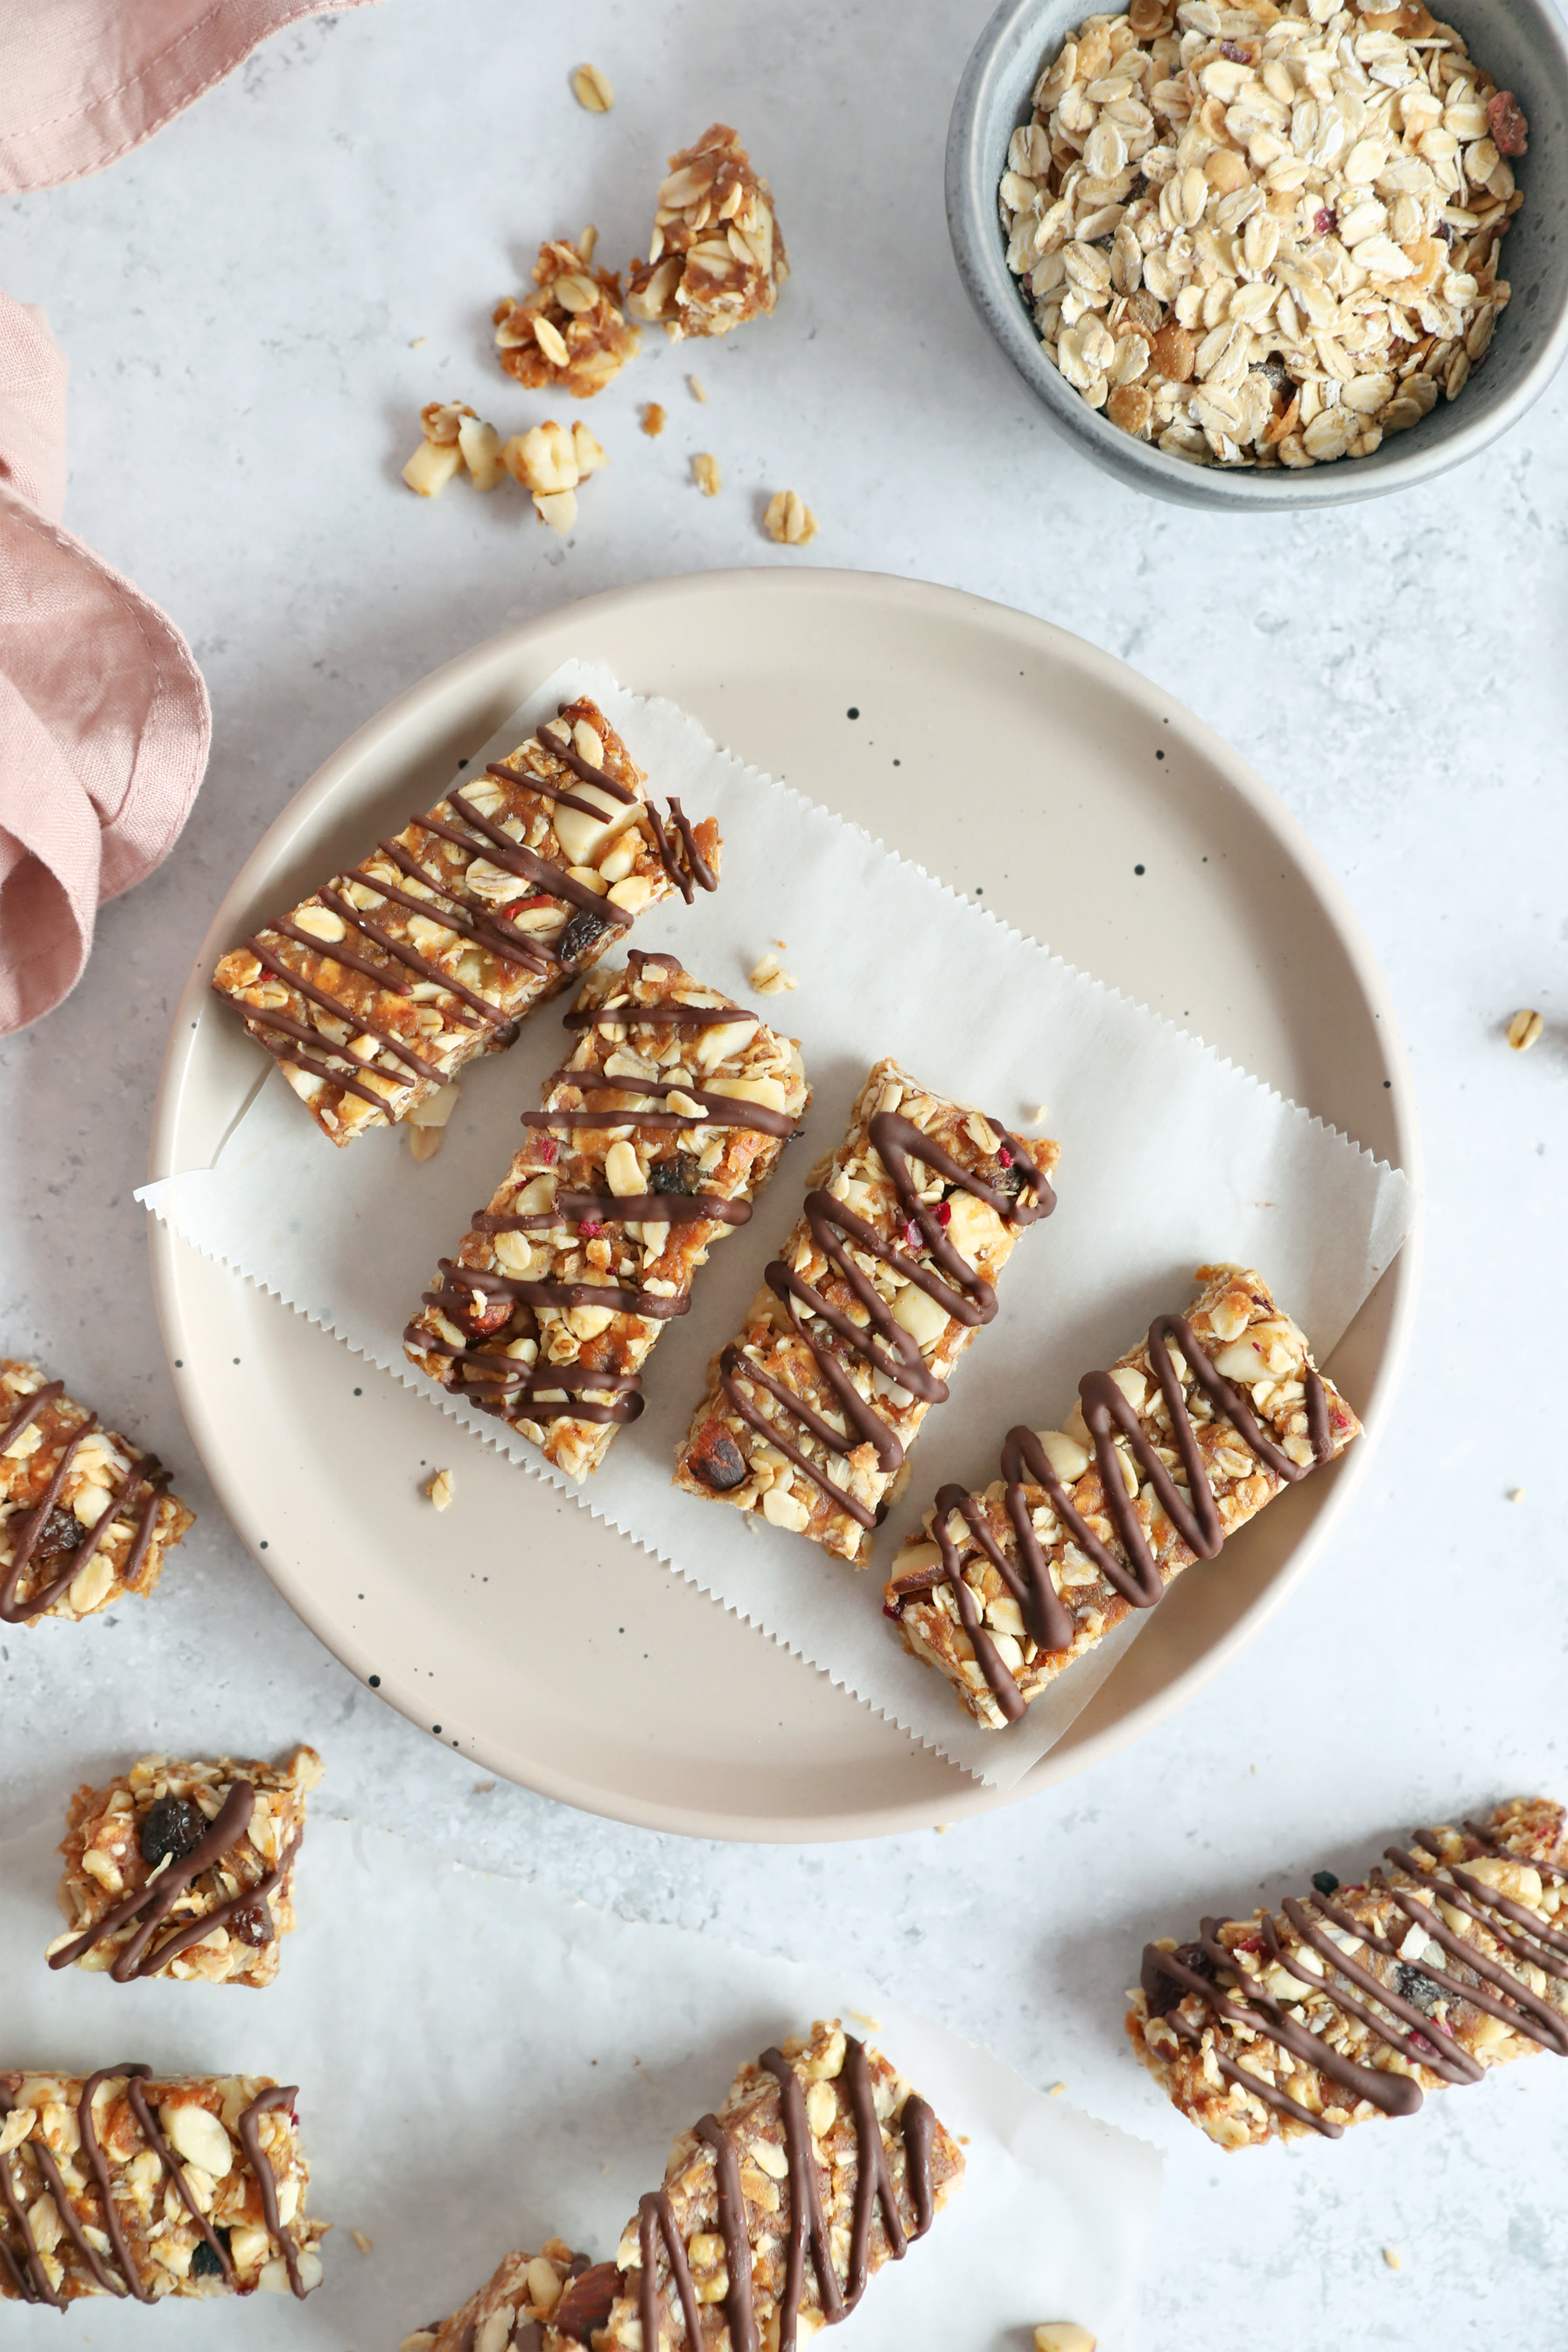
October 04, 2022
Muesli Energy Bars
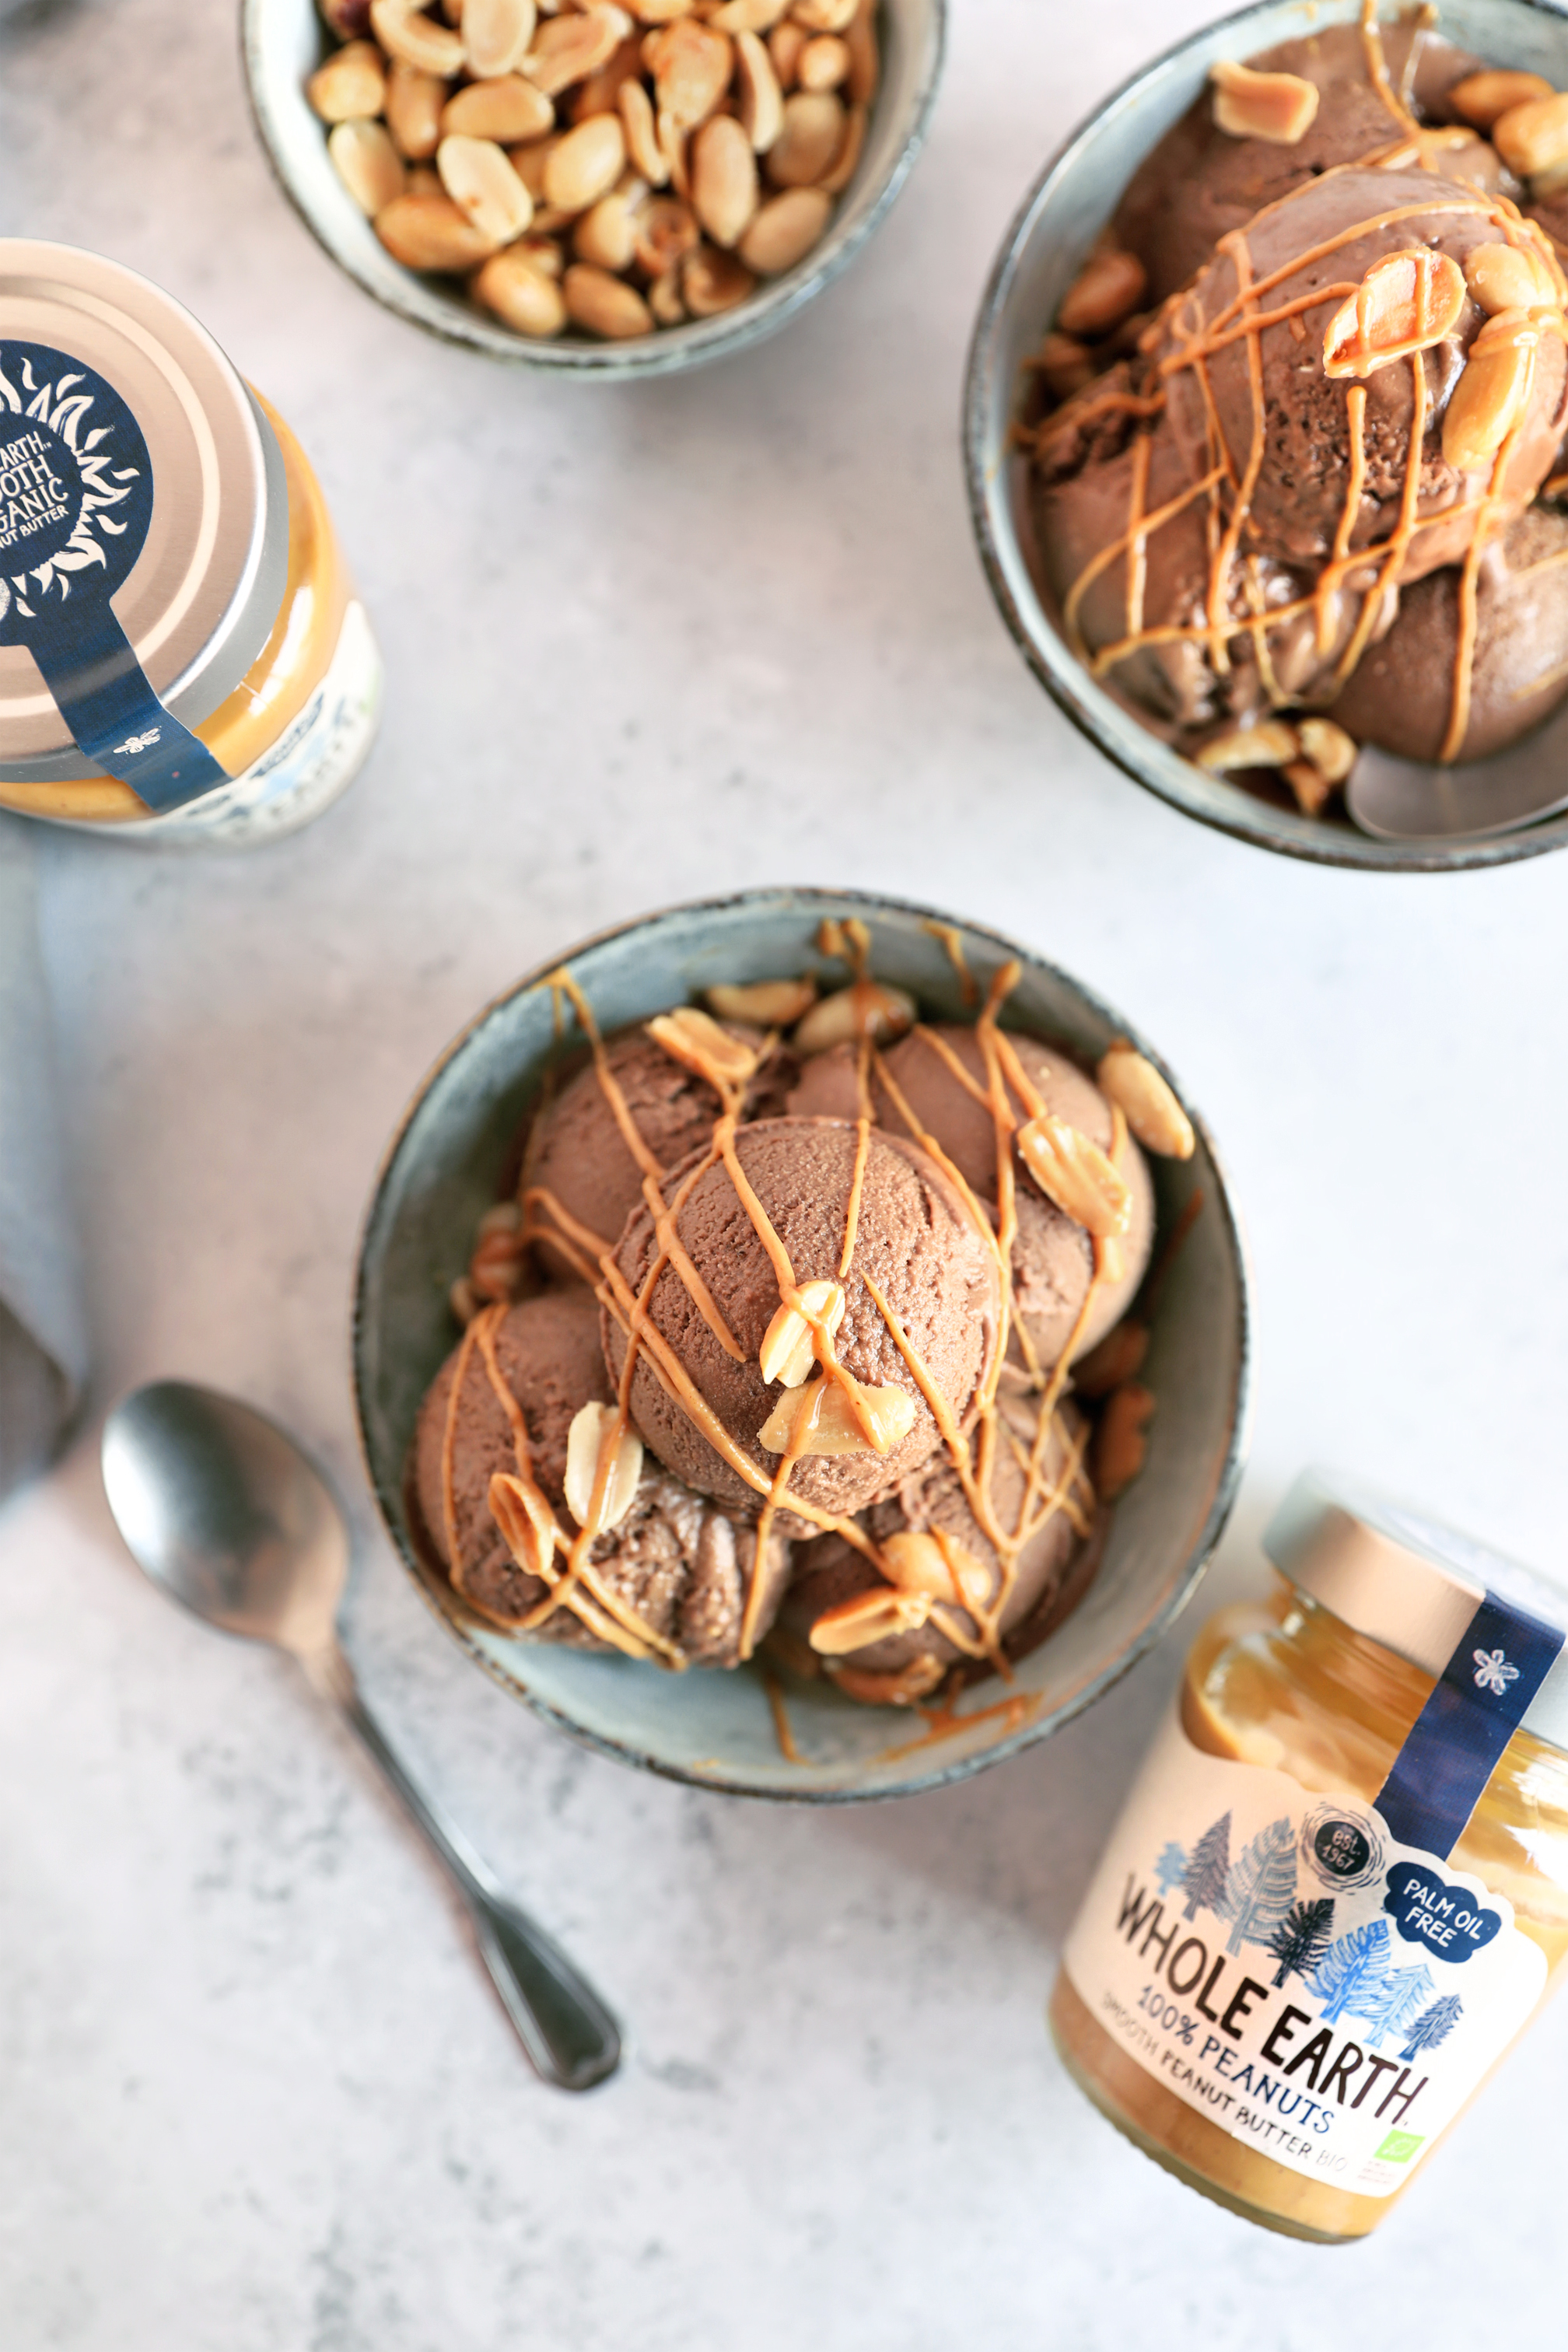
August 03, 2022
Chocolate Peanut Butter Ice Cream
June 03, 2022
Peanut butter chocolate chip cookies
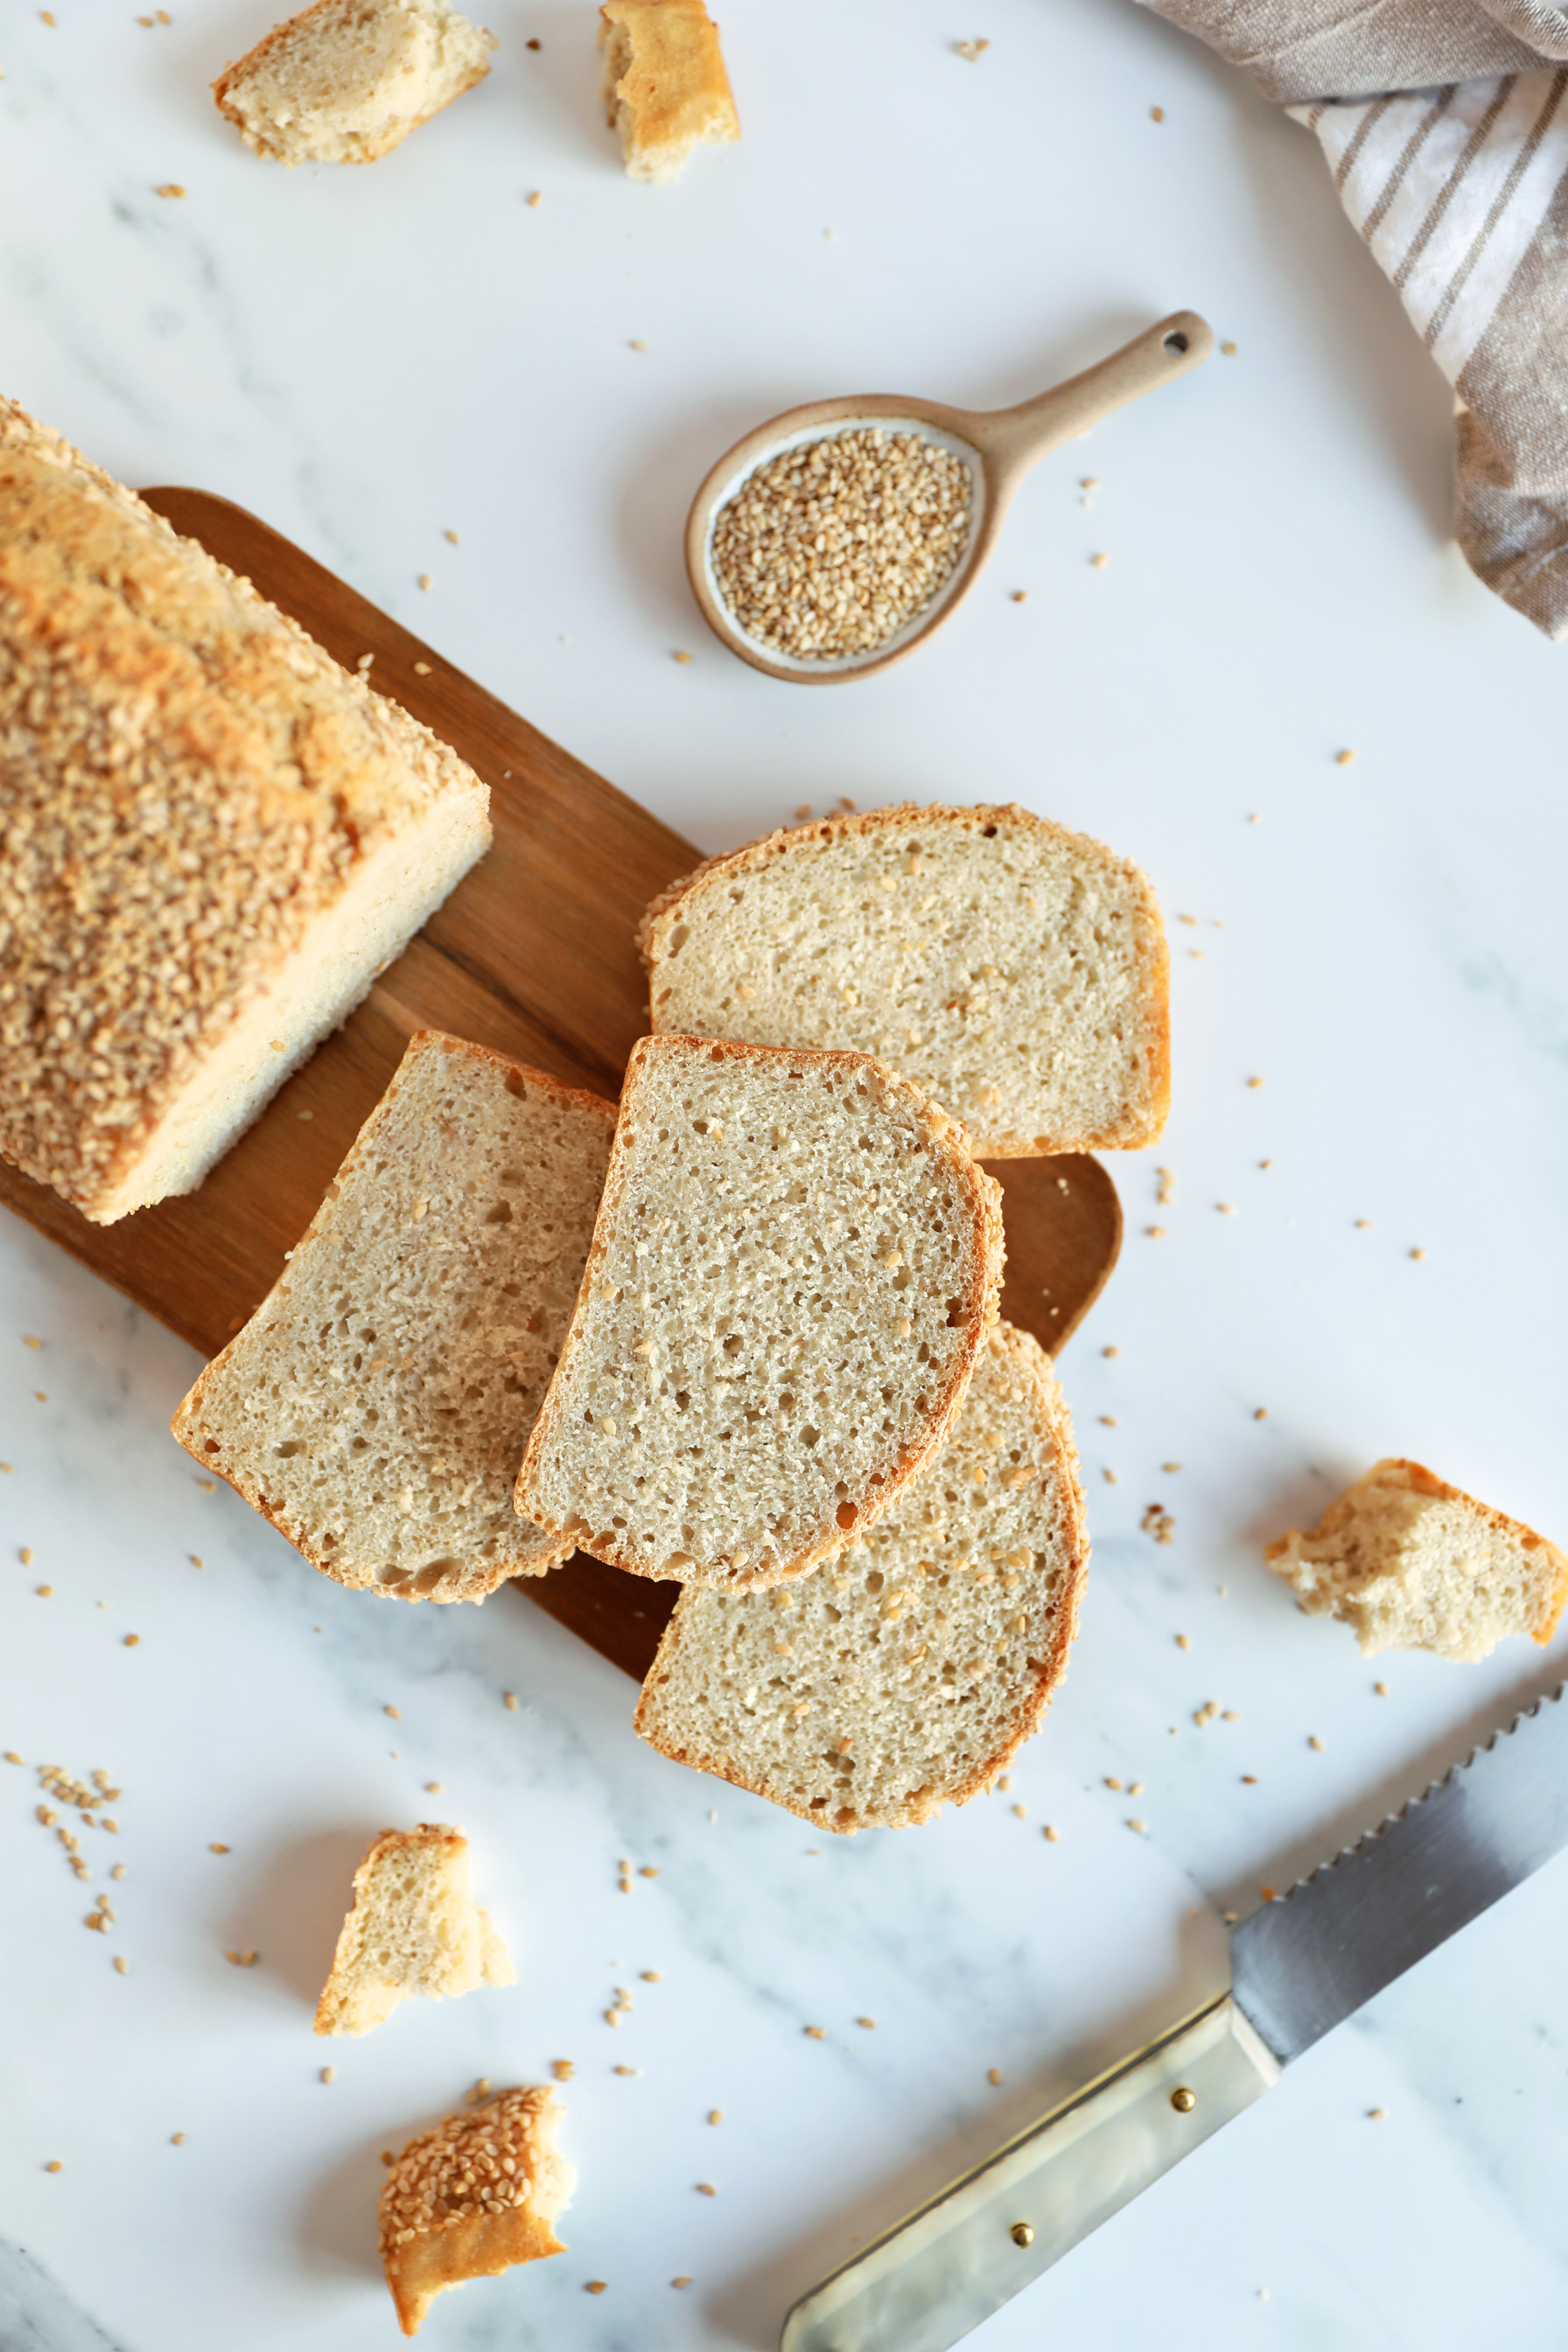
April 01, 2022
White sesame seed bread
March 08, 2022
Rosemary Vegan Cheeze
February 10, 2022
Valentine's Day Vegan Chocolate Cheesecake
December 17, 2021
Granola Chocolate Truffles
November 04, 2021
Peanut Butter and Cacao Smoothie
October 29, 2021
Halloween Pumpkin Cupcakes
Newer Posts
Older Posts
Home